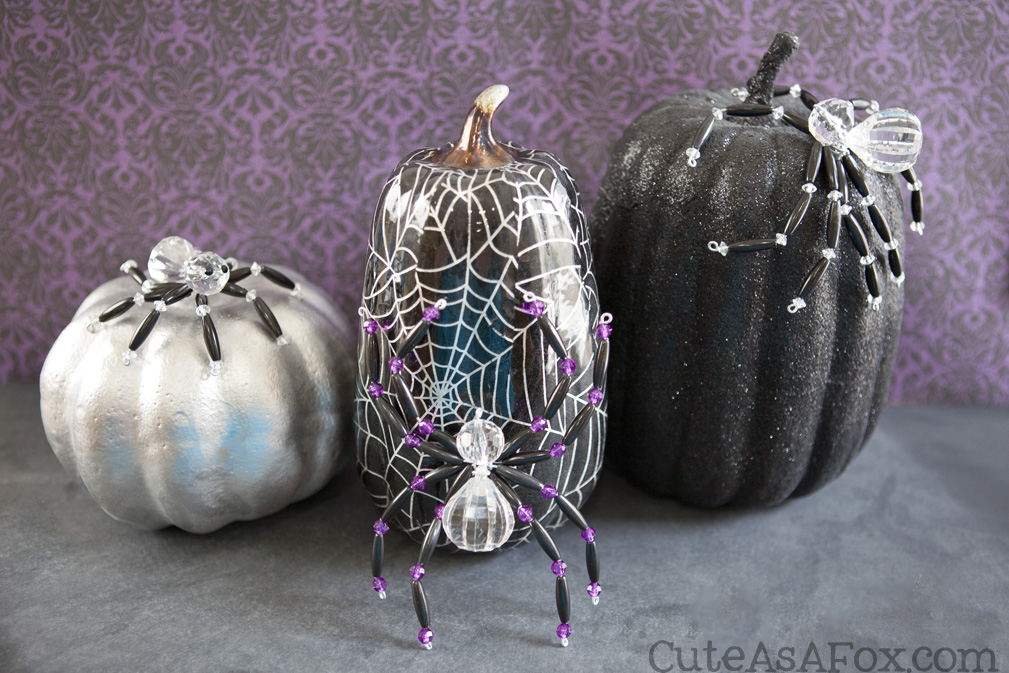
Beaded Crystal Spiders - a quick Halloween craft
Author: Ashley Whipple
Recipe type: Craft
Cuisine: Halloween
Ingredients

Instructions
Spider Legs
- Cut four 8 inch pieces of aluminum wire with the cutter on the jewlery pliers. Use the round nose of the pliers to bend one end of the wire into a loop.

- String the beads onto the wire in the following order: rondelle, spaghetti, rondelle, spaghetti, rondelle, spaghetti, spaghetti, rondelle, spaghetti, rondelle, spaghetti, and finally rondelle. Add a loop to the other end of the wire. There should be room for the beads to move around on the wire. This one piece of wire will be 2 spider legs.
- Repeat step 2 with the other three wires.
- Push the beads for each leg to their respective end. This should leave a space in the middle. Wrap the center of one wire around the center of another wire. You want it wrapped tightly, but it's okay if things can move around a bit.
- Repeat until all the wires are wrapped together. The spider should now have 8 legs.

Spider Body
- Bead the spider body on a 5" piece of aluminum wire. Twist the wire once to secure. Add the bead for the head on top of the body. Add a loop to the end of the wire to secure the spider head bead in place.

- Take the loose end of the wire and wrap several times around the center of the spider legs to attach the spider body to the legs.
- Gently bend the legs to get the shape that you want. The spiders look great standing or laying flat.
Tips
- The beads I used for the body were called "Clear jewels." I found them in the floral section of Walmart. I saw similar jewels at Hobby Lobby in the Christmas craft supplies. You definitely want to find jewels that have holes to string the wire through.
- For a medium sized spider, use 5" pieces of wire for the legs and only use two sets of beads per leg.
Recipe by Cute As A Fox at https://www.cuteasafox.com/2015/09/beaded-crystal-spiders-a-quick-halloween-craft.html